Are you tired of lackluster lattes and dull cappuccinos? Imagine transforming your everyday coffee into a luxurious, café-style masterpiece, right in your own kitchen. This isn’t just a dream; it’s entirely achievable with the right tool: a Coffee Milk Frother. As your dedicated experts at MilkFrotherPro, we’re here to guide you through everything you need to know about this essential coffee accessory, helping you unlock a world of rich, creamy, and delightful beverages.
What Exactly is a Coffee Milk Frother and Why Do You Need One?
At its heart, a milk frother is a device designed to introduce air into milk, transforming it from a simple liquid into a stable, airy foam. This magic happens thanks to tiny protein clusters in milk, called casein micelles. When you froth milk, these proteins wrap around countless microscopic air bubbles, creating that velvety texture we all adore. You might encounter two primary methods for this transformation: agitation (used by most standalone frothers) and steam injection (typically found in espresso machine wands).
So, why do you absolutely need a coffee milk frother? Beyond the sheer joy of a perfectly topped drink, it offers a wealth of benefits. You’ll achieve professional-quality results, crafting lattes, cappuccinos, macchiatos, and even delightful hot chocolates that rival your favorite coffee shop’s offerings. This not only elevates your home brewing game but also saves you money on daily coffee runs. It’s about bringing the barista experience directly to your countertop.
Decoding the Types of Coffee Milk Frothers
The world of milk frothers is diverse, offering options to suit every budget, preference, and countertop space. Understanding the different types is key to finding your perfect match.
Manual Milk Frothers
If you appreciate a hands-on approach or are looking for a budget-friendly option, manual frothers are fantastic.
- Handheld Whisks: These compact, battery-operated wands are incredibly portable and straightforward. Simply immerse the whisk into your heated milk (you’ll need to heat it separately), switch it on, and watch as it quickly whips up a light, airy foam. They’re ideal for quick cappuccinos or adding a foamy topping to a mug of hot chocolate.
- French Press Method: A clever hack for the resourceful coffee lover! While not a dedicated frother, a French press can be used to create foam by rapidly pumping the plunger through warm milk. It offers excellent control over texture but requires a bit of elbow grease and separate milk heating.
Electric Milk Frothers
For those who prioritize convenience and consistent results, electric milk frothers are a game-changer.
- Handheld Electric Wands: Similar to their manual counterparts but often more powerful and efficient, these battery-operated wands froth milk directly in your cup. They’re quick, easy to clean, and great for personal use.
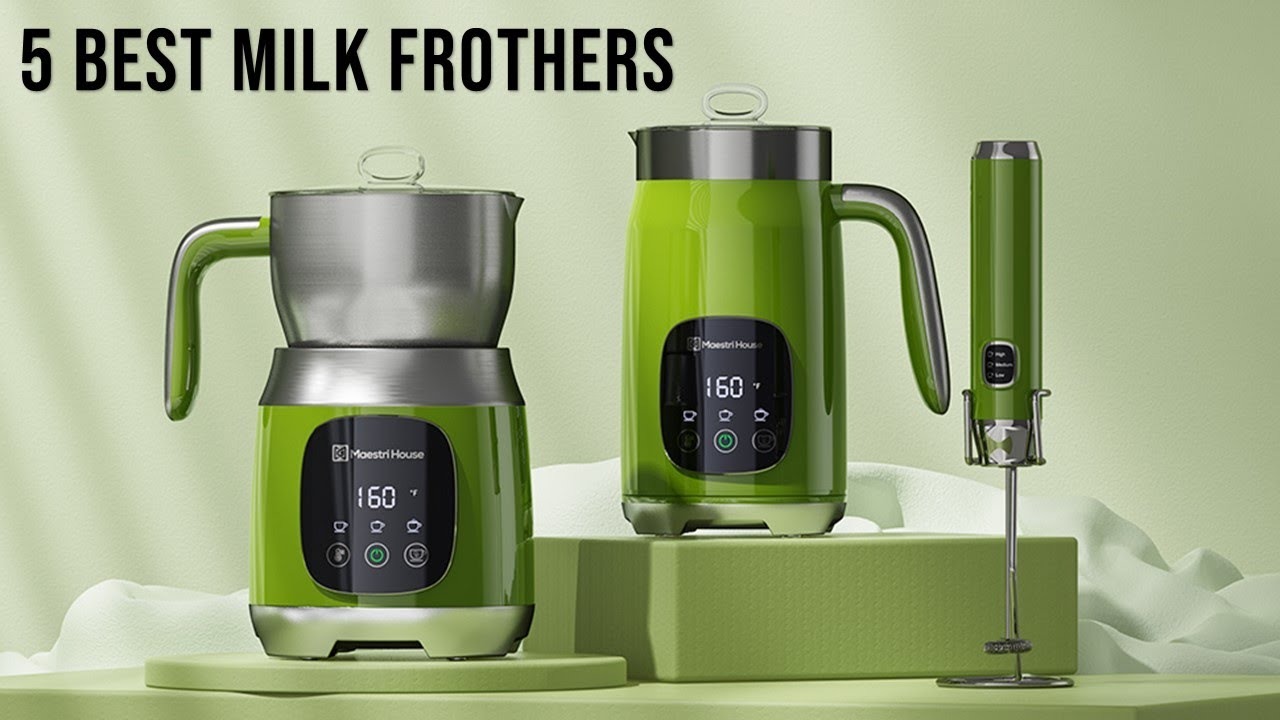
- Automatic/Countertop Frothers: These are the workhorses of home frothing. They typically come as a self-contained unit with a jug and a heating element, allowing them to heat and froth milk simultaneously at the touch of a button. Many offer multiple settings for hot or cold foam, and varying foam densities, providing consistent barista-quality results with minimal effort. They often have different whisk attachments for specific foam types, like airy cappuccino foam or dense, silky microfoam.
Steam Wands
Primarily found integrated with espresso machines, steam wands represent the gold standard for professional milk texturing. They inject pressurized steam directly into milk, creating the fine, glossy microfoam essential for elaborate latte art. Mastering a steam wand requires practice but offers unparalleled control over both temperature and texture.
Mastering the Art: How to Use Your Coffee Milk Frother for Perfect Foam
Achieving that perfect, creamy foam isn’t just about the frother; it’s also about technique and understanding your ingredients.
Choosing Your Milk Wisely
The type of milk you choose significantly impacts the froth’s texture and stability.
- Whole Milk: Often considered the gold standard for frothing due to its higher fat content, yielding a rich, creamy, and stable foam.
- Skim or Reduced-Fat Milk: While it has less fat, the higher protein content can produce a firmer, finer-pored foam.
- Plant-Based Milks: Oat milk and almond milk can froth beautifully, especially “barista blends” formulated with higher fat and protein for better foam stability. It’s worth experimenting to find your favorite.
- Temperature Matters: For most frothers, starting with cold milk is crucial, as it allows more time for aeration before the milk gets too hot. The ideal temperature for frothed milk is typically between 60°C and 65°C (150-155°F). Overheating can scorch the milk, resulting in an unpleasant, burnt taste. Many automatic frothers handle the heating for you, but for manual types, use a thermometer or heat milk until it’s hot to the touch, but not boiling.
Step-by-Step Usage Guide (General Tips)
While specific instructions vary by frother type, here’s a general approach:
- Fill Your Frother: Pour milk up to the indicated “max fill” line. Remember, milk expands when frothed, so don’t overfill!
- Position the Frother: For handheld wands, submerge the whisk just below the surface to incorporate air, then move it deeper to create a vortex and heat/texture the milk evenly. For automatic frothers, simply select your desired setting.
- Froth Away: Let the frother work its magic. For handheld models, move it up and down gently. Automatic models will typically shut off once the milk is perfectly frothed. This usually takes 30-90 seconds.
- Pour Immediately: Once frothed, gently tap the jug on the counter to eliminate any large air bubbles, then swirl the milk to integrate the foam. Pour immediately into your coffee for the best results.
Techniques for Different Foams
- Cappuccino Foam (Macrofoam): Aim for a lighter, airier foam with slightly larger bubbles. With a handheld frother, keep the whisk closer to the surface for more aeration.
- Latte Art Microfoam: This is the silky, glossy, velvety foam with tiny, uniform bubbles that seamlessly integrates with espresso. It requires more precise technique, often best achieved with a steam wand or advanced automatic frothers that create a strong vortex.
Picking Your Perfect Match: Key Considerations for Buying a Coffee Milk Frother
Choosing the right coffee milk frother can feel overwhelming with so many options. Here’s what to keep in mind:
- Capacity: How many coffee drinks do you typically make at once? Single-serve frothers are compact, while larger models can handle milk for multiple beverages.
- Heating Capabilities: Do you want just cold foam for iced drinks, or hot foam for your daily latte? Many automatic frothers offer both hot and cold settings.
- Settings & Control: Look for adjustable temperature, foam density options, and possibly different whisk attachments if you love to experiment with various textures.
- Ease of Cleaning: This is a big one! Removable, dishwasher-safe parts and non-stick interiors make cleanup a breeze, saving you time and effort.
- Noise Level: Some frothers can be quite loud. If you prefer a quiet morning routine, check reviews for noise levels.
- Durability & Build Quality: Investing in a well-built frother means it will last longer and perform more consistently. “According to seasoned barista, Sarah Jenkins, ‘The best frother isn’t always the most expensive, but the one that perfectly fits your daily coffee ritual and consistently delivers the foam you love.'”
- Price and Budget: Frothers range from inexpensive handheld wands to high-end automatic machines. Define your budget and prioritize the features most important to you.
Keeping Your Frother Sparkling: Maintenance and Cleaning Tips
Regular cleaning and maintenance are crucial for the longevity of your coffee milk frother and to ensure every drink tastes fresh and delicious. Dried milk residue can quickly become a breeding ground for bacteria and affect performance.
Daily Cleaning Routine
- Rinse Immediately: This is the golden rule! Immediately after each use, rinse all milk-contact surfaces with cold water. This prevents milk proteins from coagulating and sticking.
- Warm Soapy Water: For most handheld and manual frothers, disassemble all parts (if possible) and wash them thoroughly with warm water and a few drops of mild dish soap. For automatic frothers, wipe the jug with a damp cloth and wash the whisk and lid.
- Air Dry: Allow all components to air dry completely before reassembling or storing to prevent moisture-related issues.
Deep Cleaning & Troubleshooting
- Descaling (Monthly): Over time, mineral buildup from hard water can affect performance. Run a solution of one part white vinegar to three parts water through your automatic frother on its hottest setting, or soak manual parts in the solution for 15-30 minutes. Rinse thoroughly afterward.
- Stubborn Residue: For particularly tough milk residue, a paste made from baking soda and water can be gently scrubbed onto the affected areas. Soaking parts in a vinegar solution can also help loosen stubborn proteins.
- Addressing Odors: If your frother develops an off-putting smell, it’s usually a sign of hidden residue. A thorough deep clean with vinegar or baking soda, followed by complete drying, should resolve it.
FAQs About Coffee Milk Frothers
Q: Can I use non-dairy milk with my coffee milk frother?
A: Absolutely! Most plant-based milks, especially those labeled “barista blends” (like oat, almond, or soy milk), froth very well due to their optimized protein and fat content. Experiment to find your favorite, as results can vary between brands and milk types.
Q: What’s the ideal temperature for frothing milk?
A: The sweet spot for frothing milk is typically between 60°C and 65°C (150-155°F). This temperature enhances the milk’s natural sweetness without scalding it, which can produce an unpleasant taste.
Q: How do I make microfoam for latte art?
A: Achieving true microfoam requires practice and often a frother with precise control, such as a steam wand or a high-quality automatic frother with specific settings. The key is to incorporate air initially, then submerge the frother deeper to create a rolling motion that texturizes the milk, resulting in tiny, uniform bubbles.
Q: How often should I clean my milk frother?
A: You should rinse your milk frother immediately after every single use to prevent milk residue from drying and sticking. A more thorough wash with warm soapy water should also be done daily. Deep cleaning with a descaling solution (like vinegar) is recommended monthly or bi-weekly depending on usage.
Q: Can I froth cold milk?
A: Yes! Many electric automatic milk frothers have a specific setting for cold foam, which is perfect for iced coffees, cold brews, and frappes. Handheld frothers can also froth cold milk, creating a light, airy topping for chilly beverages.
Elevate Your Coffee Experience Today
A coffee milk frother isn’t just another kitchen gadget; it’s a passport to a world of elevated coffee experiences. From the simplest handheld wand to the most sophisticated automatic machine, these devices empower you to become your own barista, crafting bespoke beverages that delight your senses and impress your guests. We encourage you to explore the possibilities, experiment with different milks and techniques, and discover the sheer joy of a perfectly frothed coffee. Your daily ritual is about to get a whole lot creamier!