Are you tired of settling for plain coffee when your heart truly desires a creamy, perfectly frothed latte or a rich cappuccino? Imagine crafting those delightful beverages right in your own kitchen, no bulky espresso machine required. That’s where the humble yet mighty Handheld Milk Frother comes into play, transforming your daily brew into a barista-worthy experience with surprising ease and affordability. This compact gadget is a true game-changer for anyone looking to elevate their home coffee game without a significant investment in space or money.
What Exactly is a Handheld Milk Frother?
At its core, a handheld milk frother is a small, battery-powered device featuring a whisk attachment at the end of a stick-like body. It’s designed for simplicity and portability, allowing you to manually control the frothing process. Unlike some electric countertop frothers, a typical handheld milk frother does not heat the milk itself, meaning you’ll need to warm your milk separately if you’re aiming for a hot beverage. Its primary function is to rapidly agitate milk, introducing air to create a light, airy, and creamy foam. This makes the handheld milk frother an essential tool for aspiring home baristas seeking convenience and professional results.
Why Bother Frothing Milk? The Magic Beyond the Whisk
Frothing milk is more than just a fancy addition to your drink; it’s a sensory experience that dramatically enhances your coffee. Here’s why embracing the art of the handheld milk frother makes all the difference:
- Texture and Mouthfeel: The most apparent benefit is the luxurious texture. Frothed milk introduces a velvety, airy quality that makes every sip incredibly smooth and delightful, turning an ordinary drink into a special treat.
- Enhanced Flavor: Believe it or not, frothing helps to unlock the natural sweetness of milk. The aeration process creates tiny bubbles that carry aroma and flavor more effectively, enriching the overall taste of your coffee or tea.
- Visual Appeal: Let’s be honest, a beautifully topped drink is simply more enjoyable. A cap of creamy foam created by a handheld milk frother elevates the presentation, making your homemade beverages look as good as they taste.
- Versatility: Whether you crave a hot latte on a chilly morning or a refreshing iced coffee with a cloud of cold foam, the handheld milk frother handles it all. Its versatility extends beyond just coffee, making it a valuable kitchen gadget.
Choosing Your Canvas: The Best Milks for Frothing
The type of milk you choose significantly impacts the quality and stability of your foam. While a handheld milk frother can work with many options, some yield better results than others.
Dairy Milks:
- Whole Milk: The Gold Standard: Thanks to its higher fat content (around 3.5%), whole milk consistently produces the richest, creamiest, and most stable foam. The fat and protein work together to create a smooth, velvety microfoam that’s perfect for lattes and cappuccinos.
- 2% Milk: Balanced Creaminess: If you’re looking for a slightly lighter option that still delivers impressive froth, 2% milk is an excellent choice. It strikes a good balance between creaminess and a lighter texture, suitable for a wide range of drinks.
- Skim Milk: Light and Airy: Skim milk, with its minimal fat content, froths up easily to create a very light and airy foam, often with larger bubbles. While it offers a fluffy texture, it’s less creamy and less stable than foams made with higher-fat milks.
Non-Dairy Alternatives:
- Oat Milk: Barista Favorite: Oat milk has become a go-to for many baristas and home users due to its ability to produce a creamy, stable foam that closely mimics dairy milk. It also has a naturally sweet flavor that complements coffee beautifully.
- Soy Milk: Reliable, but Watch the Heat: Soy milk generally froths well, yielding a decent foam. However, be cautious not to overheat it, as it can sometimes separate or develop an off-flavor if scorched.
- Almond & Coconut Milk: Varies, Look for “Barista Blends”: Results with almond and coconut milk can be inconsistent. They might produce larger bubbles and less stable foam. For the best outcome, seek out “barista blends” of these milks, which are specifically formulated with added stabilizers to improve frothing performance.
Pro Tip: Regardless of your choice, always start with fresh, cold milk for the best frothing results. Cold milk provides more time for aeration before it heats up, allowing for a finer, more consistent foam.
Getting Started: Essential Tools for Handheld Frothing
To embark on your handheld milk frothing journey, you’ll need a few basic items:
- Your Handheld Milk Frother: Of course, the star of the show! Ensure it has fresh batteries for optimal power.
- A Tall, Narrow Container: A stainless steel frothing pitcher is ideal, as its shape helps create a vortex for even frothing and allows for easy pouring. A mug or tall glass will also work.
- Thermometer (Optional but Recommended): While not strictly necessary, a basic kitchen thermometer helps you heat your milk to the optimal temperature, preventing scorching and ensuring consistent foam.
Step-by-Step: How to Use Your Handheld Milk Frother for Perfect Foam
Mastering your handheld milk frother is simpler than you might think. Follow these steps for consistently creamy results:
- Prepare Your Milk: Pour the desired amount of milk into your tall, narrow container. Remember, milk expands when frothed, so fill the container no more than halfway to leave ample room for expansion.
- Heat Your Milk: Since a handheld milk frother doesn’t heat, you’ll need to do this separately. Gently warm your milk on the stovetop or in the microwave until it reaches the ideal temperature range of 150-155°F (60-68°C). Avoid boiling the milk, as this can scorch it and negatively affect both taste and frothing quality.
- Submerge and Activate: Place the whisk end of your handheld milk frother into the warmed milk, ensuring it is fully submerged. Turn on the frother.
- Froth with Precision: Gently move the frother up and down, just below the surface of the milk. This motion helps to incorporate air and create foam. As the milk begins to froth, you’ll notice it doubling in volume and thickening. Continue frothing for about 30-60 seconds, or until you achieve your desired creamy consistency. For a lighter froth, 15-20 seconds might suffice.
- Refine Your Foam: Once frothed, gently tap the bottom of your container on a flat surface to release any large air bubbles. Then, swirl the milk lightly to integrate the foam with the liquid milk, creating a smooth, glossy texture that’s ready to pour.
Elevate Your Game: Advanced Tips for a Barista-Level Froth
To truly master your handheld milk frother and produce results that rival your favorite coffee shop, consider these expert tips:
- Consistency is Key: Maintain a consistent, gentle up-and-down motion with your handheld milk frother. Avoid erratic movements, as smooth operation leads to smooth foam.
- Don’t Overheat: Overheating milk is a common mistake. Milk heated above 155°F (68°C) can scorch, leading to a burnt taste and poor foam texture. Use a thermometer if you’re unsure.
- Experimentation is Your Friend: Don’t be afraid to experiment with different milk types, temperatures, and frothing times. Every handheld milk frother performs slightly differently, and your personal preference for foam density will evolve.
- Understanding Microfoam vs. Dry Foam: While a standard handheld milk frother excels at creating a light, airy foam (often referred to as dry foam), achieving true microfoam (velvety, integrated foam ideal for latte art) is typically the domain of powerful steam wands. However, consistent technique and the “tap and swirl” method can get you surprisingly close to a smoother, finer texture.
- Sarah Chen, a seasoned barista and coffee consultant, emphasizes, “The handheld frother is a game-changer for accessibility. While it might not replicate a commercial steam wand’s microfoam precisely, mastering the technique allows you to create incredibly satisfying, velvety textures right in your kitchen.”
Beyond Coffee: Creative Uses for Your Handheld Milk Frother
Your handheld milk frother isn’t just for coffee; it’s a versatile kitchen gadget with many applications:
- Hot Chocolate: Whip up incredibly creamy and indulgent hot chocolate.
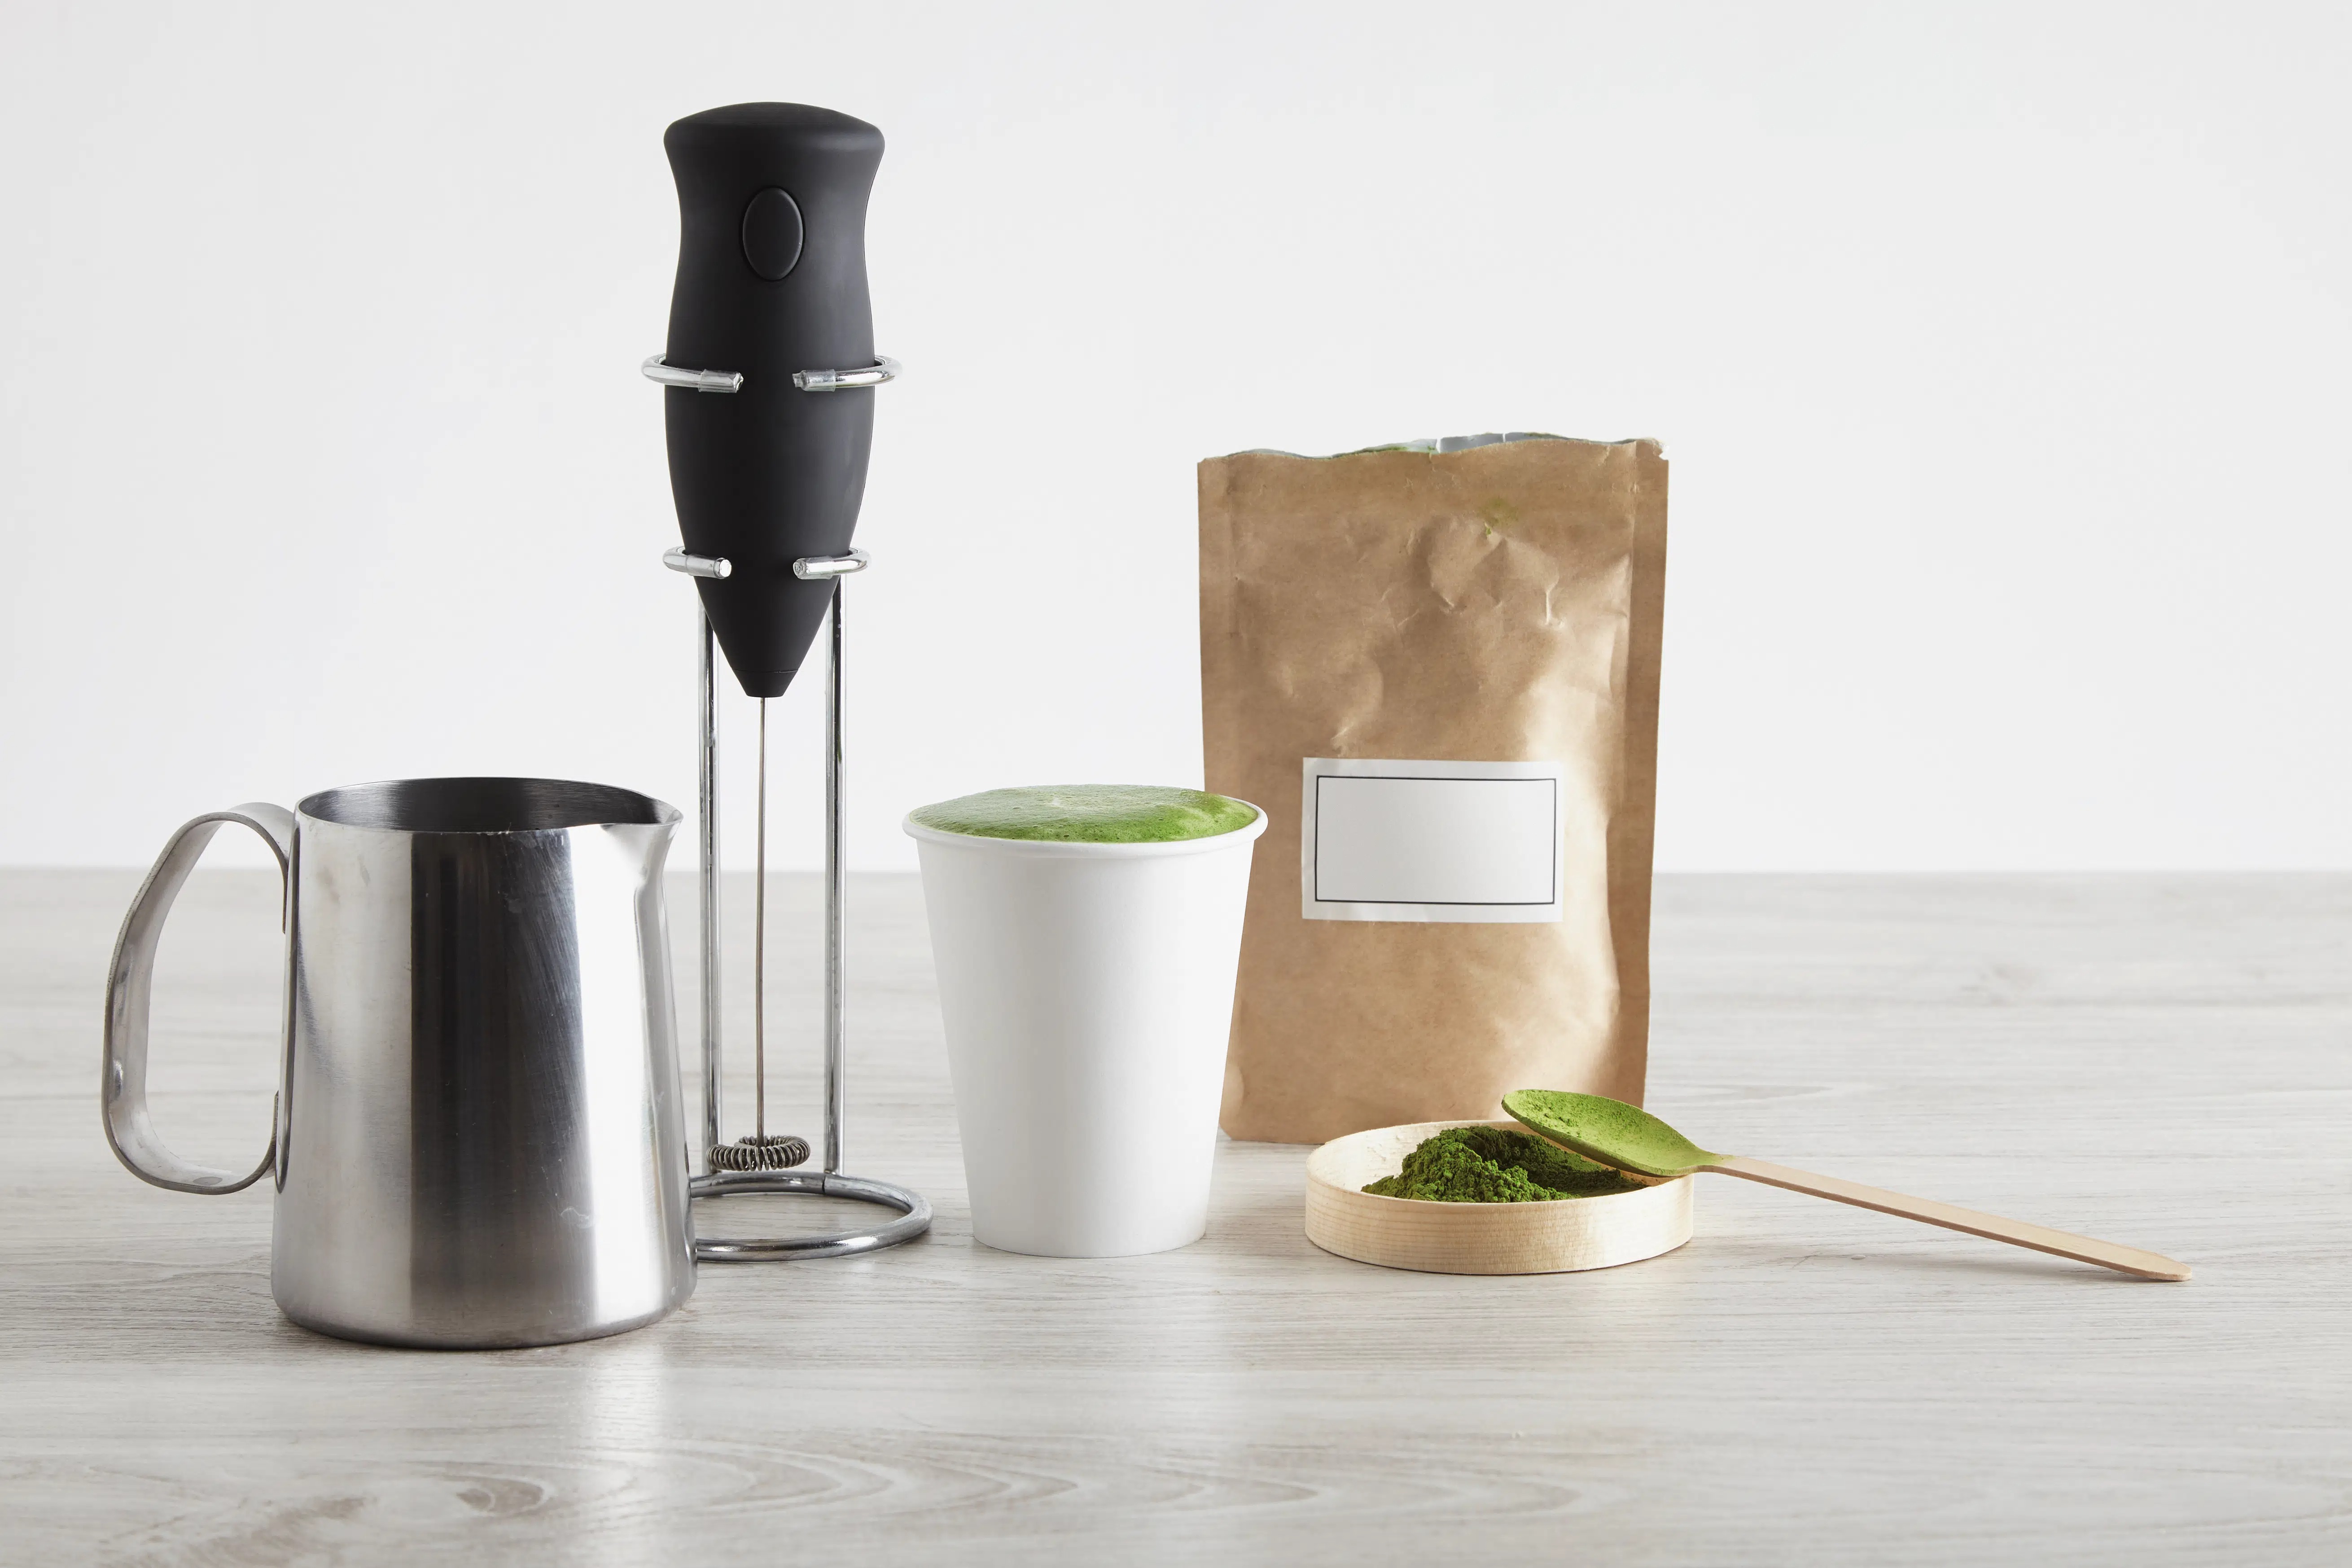
- Matcha Lattes: Create a smooth, clump-free matcha tea base before adding milk.
- Whipped Cream: Make small batches of fresh whipped cream in a flash.
- Cocktails and Mocktails: Emulsify ingredients or create frothy toppers for your beverages.
- Salad Dressings: Whisk together vinaigrettes or other dressings for a perfectly blended consistency.
- Protein Shakes: Mix protein powders smoothly without lumps.
Keeping It Fresh: Cleaning and Maintenance for Your Handheld Frother
Proper care ensures the longevity and hygiene of your handheld milk frother:
- Immediate Rinse is Best: The golden rule for cleaning any frothing device is to rinse it immediately after use. This prevents milk residue from drying and hardening on the whisk. Simply run the whisk end under warm water for a few seconds while the frother is still on (carefully!).
- Detachable Parts: Many handheld milk frothers have detachable whisks, making cleaning even easier. Remove the whisk and wash it with warm, soapy water.
- Battery Care: If your handheld milk frother is battery-operated (most commonly with AA batteries), remove the batteries if you don’t plan to use it for an extended period to prevent corrosion. Consider rechargeable batteries for an eco-friendly option.
Your Buying Guide: What to Look for in a Handheld Milk Frother
When choosing a handheld milk frother, consider these key features to find the perfect match for your needs:
- Power and Speed (RPM): A more powerful motor (higher RPM) generally translates to faster frothing and potentially finer foam. Look for models that feel robust.
- Build Quality: A stainless steel whisk is durable and easy to clean. A sturdy handle provides a comfortable and secure grip during use.
- Ergonomics and Comfort: Since you’ll be holding it, ensure the frother fits comfortably in your hand and that the power button is easily accessible.
- Battery Type: Most use AA batteries, but some newer models feature USB-rechargeable batteries, which can be more convenient and cost-effective in the long run.
- Ease of Cleaning: As mentioned, a simple-to-rinse whisk and potentially detachable parts are major advantages.
- Included Stand/Case: A stand keeps your handheld milk frother neatly on the counter and prevents it from rolling around, while a case is great for portability and travel.
Troubleshooting Common Frothing Issues
Even with the best handheld milk frother, you might encounter a few hiccups. Here’s how to address them:
- “Why is my milk not frothing?”
- Solution: Ensure your milk is fresh and cold when you begin the process of heating. Also, make sure the frother’s whisk is fully submerged in the milk. If it’s old or used frequently, check the batteries.
- “Too many large bubbles!”
- Solution: This often happens from over-frothing or using milk with very low-fat content. Try frothing for a slightly shorter duration. After frothing, remember to tap the container on the counter and swirl the milk to break down larger bubbles and create a smoother texture.
- “My milk tastes scorched.”
- Solution: You’ve likely overheated the milk. Always aim for the 150-155°F (60-68°C) range and use a thermometer until you get a feel for the right temperature.
Frequently Asked Questions About Handheld Milk Frothers
Q: Can a handheld milk frother make cold foam?
A: Absolutely! Simply use cold milk and froth it using the same technique. Cold foam is perfect for iced lattes, cold brews, and other chilled beverages.
Q: How long does it take to froth milk with a handheld frother?
A: For a light and airy froth, 15-20 seconds usually suffices. For a thicker, creamier foam, you might need 30-60 seconds. It also depends on the power of your specific handheld milk frother and the type of milk.
Q: Is it necessary to heat milk before frothing with a handheld frother?
A: If you want hot frothed milk for a hot beverage like a latte or cappuccino, yes, you must heat the milk separately before using the handheld milk frother. The frother itself does not have a heating element.
Q: Can I use a handheld frother for latte art?
A: While challenging, it’s possible to create basic latte art with a very fine, smooth foam. However, achieving the intricate designs seen in coffee shops usually requires the precise microfoam produced by a commercial espresso machine’s steam wand. Practice and the “tap and swirl” method are key.
Q: What’s the best way to clean my handheld frother?
A: The best method is to rinse the whisk end under warm running water immediately after each use. If the whisk is detachable, remove it and wash it with warm, soapy water. Ensure the battery compartment stays dry.
Conclusion
The handheld milk frother is an indispensable tool for anyone who dreams of crafting professional-looking and tasting coffee drinks at home. Its affordability, portability, and ease of use make it a fantastic alternative to more expensive and cumbersome equipment. By understanding the types of milk, mastering the simple frothing technique, and following basic care instructions, you can unlock a world of creamy lattes, fluffy cappuccinos, and innovative beverages. So grab your handheld milk frother, experiment with different milks and techniques, and delight in the rich, satisfying flavors you can create. Your daily coffee ritual is about to get a whole lot more exciting!